Not Again!
September 5th, 2011
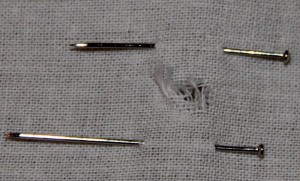
Is it me? Is it my corset? Is it fate? What am I doing wrong? After only three more wearings, my (relatively) new chemise has another tiny tear.
It’s still just a little teeny rip — too small even to patch. I think I’ll try darning it this time. I suppose I should be glad I caught it so early. I only noticed because I decided to iron the chemise after its recent washing.
Sigh.
Tuck In
September 4th, 2011
Today, while digitizing 78 rpm records for the Treasure Ivan Show, I finished hand-sewing the skirt for my latest petticoat. It is now sitting in my overflowing work-basket, neatly folded, awaiting its crocheted trimming. I have only 11 more repeats, then I’ll block the lace and whip it on.
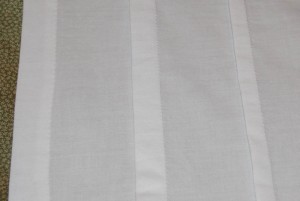
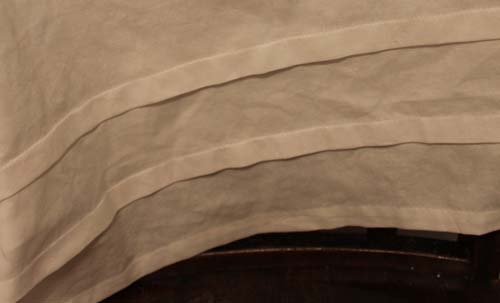
It’s a fairly modest specimen, as petticoats go. A one-inch hem masquerading as a tuck, topped by two more graduated tucks. I considered an embroidered inserting between the tucks, but decided against it. I couldn’t find any precedent from the period to show that petticoats were ever decorated with BOTH crochet and embroidery. In fact, I couldn’t find any 1850s petticoats with crochet edging period. My only guess — since the pattern is most definitely 1850s, and specifically says that it is for petticoats — is that the majority of lace-trimmed petticoats were cannibalized.
Continuing my train of thought, it’s also interesting to note how quickly this edging has worked up. I started it a few weeks ago, and working sporadically, have nearly finished. Definitely much faster than broderie anglaise. And at least by modern standards, MUCH cheaper in terms of materials as well as effort and skill. Yet another argument for mating it with a fairly simple petticoat. Now the next crocheted edging I’ve got in mind is a different story…
Laundry Day
September 2nd, 2011
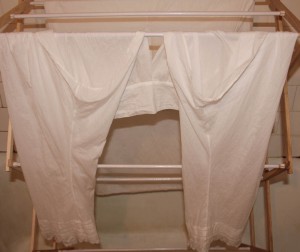
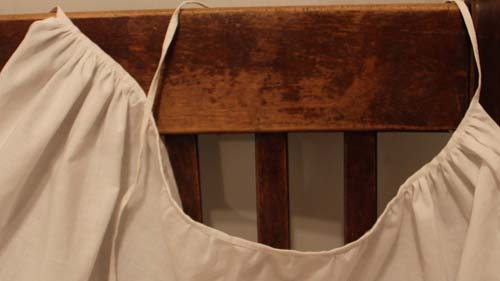
After three hot summer days of modeling in 19th century clothes, sweating profusely and getting drenched in a sudden thunderstorm, it was high time to wash my chemise and drawers.
If I was washing these in the 1850s, they’d be soaked in harsh soap, boiled, scrubbed and wrung out. Even so, I couldn’t bear to subject my embroidery to more than a gentle swish in a lukewarm bathtub. Then I wrung them out carefully — just squeezing the lace — and hung them to drip dry.
I was also reminded of this old English nursery rhyme, with its startlingly blunt conclusion:
They that wash on Monday
Have all the week to dry.They that wash on Tuesday
Are not so much awry.They that wash on Wednesday
Are not so much to blame.They that wash on Thursday
Wash for very shame.They that wash on Friday
Wash in dire need.They that wash on Saturday
Are lazy sluts indeed!
Petticoat II
August 20th, 2011
I haven’t assembled my cage crinoline kit yet, so the skirt of my monumental broderie anglaise petticoat continues to languish in the closet. I need the cage — not to mention my new corset — in order to properly fit and balance the petticoat on its waistband.
Meanwhile, I’ve begun a crocheted edging for another petticoat. I’m using a pattern from Peterson’s, 1855 (I made a sample of this pattern earlier in the year):

I usually try to avoid crochet patterns that begin “work a chain slightly longer than desired.” I vastly prefer to work one entire repeat at a time, like knitted lace. Unfortunately, most crochet patterns require the header at least to be worked full-length, and this one is no different. After the header and top row of loops though, it’s worked by the repeats. So it could be worse.
It took me about 6 days of fitful work to complete the full-length rows. Now I’m happily hooking away on the fun part. I like to put three breadths of 45 inch cotton into my petticoats — a little narrow for the cage era perhaps, but I need them to be manageable over a horsehair crinoline as well. So, with about 135 inches in my hem, I decided to make 145 inches of edging. I’d rather have to ease the edging onto the hem than the other way round!
I want to get some nice cotton broadcloth (or a nice old sheet) for this petticoat. I’ll definitely tuck it, and have been considering some embroidered inserting, but that may be a bit much…
The real question is, what on earth am I going to do with all these fancy petticoats?
Petticoat Acompli
May 21st, 2011
I’m pleased to report that my Empire petticoat is complete! It’s entirely hand-sewn, and despite a skirt that is not quite perfectly balanced, I’m very happy with it!
As revealed in an earlier post, I used a pattern from Janet Arnold’s Patterns of Fashion I: the 1798-1805 morning dress. I simply left off the apron front that would have turned this into a complete dress. The bodice is linen (Arnold’s original had a linen lining to the bodice), but I decided to go with cotton muslin for the skirt — linen would have been far too stiff and heavy.
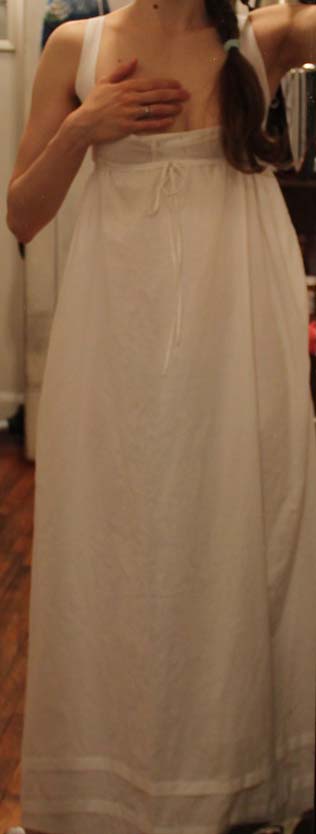
Here’s the apron part of the skirt — nearly flat at the front, but lightly gathered by the time it reaches the side. It’s set into a very narrow linen waistband that continues to form long ties. The original dress had a front bodice piece attached to this part of the skirt, that buttons on to the rest of the bodice.
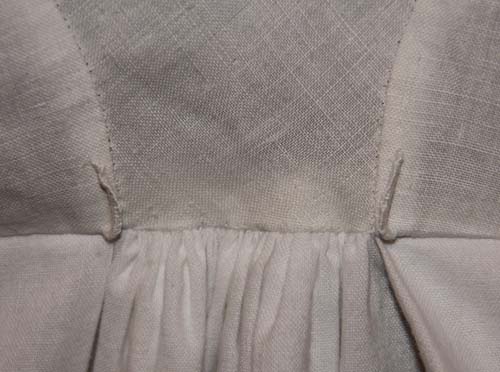
The sides and back of the skirt are set into the bodice with a series of pleats at the sides and a small section of gathers at the very back. Also at the back, you’ll see a pair of thread loops that hold the ties from the apron front as they wrap around to tie in front.
I had to resist the urge to over-finish the inside. After running the seams with a modified back-stitch (tiny running stitches with an occasional back-stitch for strength), I trimmed the allowances and overcast them. The neck, arms, and front bodice were simply turned and hemmed.
The skirt is two lengths of 45 inch wide cotton muslin, sewed into a tube at the selvedges (19th-century “sewing” requires no seam allowance when you’re joining selvedges). Since the original pattern called for three breadths of narrower fabric in the skirt, it used the side seams for the apron front opening. My side seams were too far towards the back. Instead, I cut two long slits into the front portion of the skirt and hemmed them with a tiny pleat at the base of the slit. I also hemmed the bottom, and put in two 3/4 inch tucks.
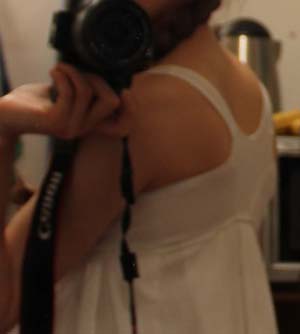
At the top of the skirt, I scooped out an inch from the center front, rising gradually as it came around to the sides. In retrospect, I wish I’d taken more than 1 inch — the bodice rises in the back, pulling the skirt up more than I realized. If I’d followed Arnold’s pattern exactly, this would not have been an issue since the back of her dress has a considerable train that would disguise any shortness.
See how it angles up in the back? You can also see how far back the armscye is set. This is one of the distinguishing markers of an Empire gown, though I rather wonder if mine isn’t a bit extreme.
In the end, I decided not to lace up the front the bodice. In Arnold’s original pattern, she indicates that the bodice lining is simply pinned closed. During the fittings, I was convinced that pins would never hold (the lining provides all the bosom support for this outfit) and that I’d be in constant danger of being stabbed. When I tried it on this morning though, pinned in place, I realized that it really works! So I’m leaving it with pins.
And yes, though cleverly disguised in order to keep this picture viewable, the bodice does not come up high enough to actually cover the bosom. As seen in this picture of the original painting that I’m using for inspiration, the lining is meant to run underneath, supporting, but not concealing.
Now, on to the dress!
« Newer Posts — Older Posts »
