A Little Tatty
December 5th, 2012
No pictures yet of my recent love affair with the armistice blouse, but here’s a sneak peek in the form of tatted edging.
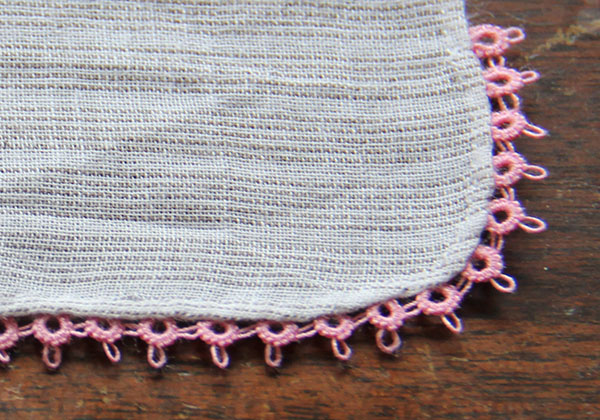
This is the collar that will soon be attached to my latest blouse. You can’t see it terribly well in the picture, but the fabric is a nearly sheer white with pale grey pin stripes. I used pink cotton for handkerchief hemming and fagotting, so naturally had to whip up a few lengths of pink tatted edging to match. It’s an embarrassingly simple pattern (I have yet to quite master the whole two-shuttle thing), but at least it works up relatively quickly.
And it’s such fun taking my tatting around with me. Everyone is always curious about what I’m doing.
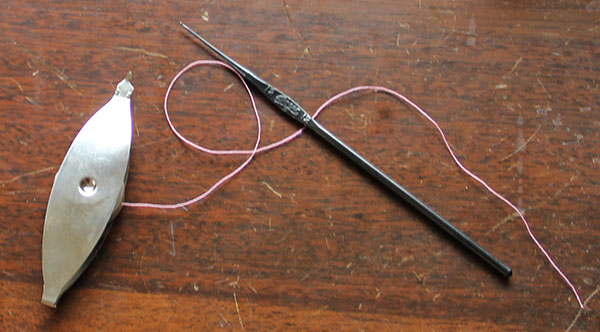
According to some histories I’ve read, tatting was developed centuries ago by nuns. Is it just me, or was all needlework developed by nuns? They say it caught on in the European courts when the ladies in waiting (always eager for something tasteful to pass the time) discovered how well tatting showed off their taper fingers* as they tied all those teeny knots. Elaborate and richly decorated shuttles of precious metal or ivory were de rigueur up through the Victorian era. I purchased a reproduction sterling silver filigree shuttle myself a few years ago, but was dismayed to find it stained my thread with tarnish. Perhaps a bath in lemon juice…
But really, it’s easier to stick to the mid-20th century metal ones, with their handy little bobbins that pop in and out. They even have a hook on the end for picking up the picots — though I find it works much better with a crochet hook. My absolute favorite shuttle is red plastic, without a separate bobbin (they can sometimes unwind at inconvenient moments) but I can’t seem to put my finger on its present location.
*Taper fingers is a ridiculously overused, semi-erotic 19th-century phrase — sort of the “heaving bosoms” or “throbbing member” of a more decorous time. For example, from Tom Cringle’s Log, circa 1832: “Then again—as I praised his lovely taper fingers—they were more like bunches of frosted carrots, dipped in a tar-bucket, with the tails snapt short off…”
Ready for a Petti
October 12th, 2011
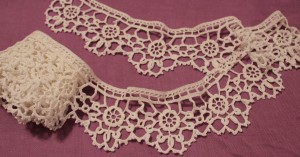
My guipure petticoat trim is complete! It measures just a bit longer than 150 inches — perfect to apply to one of my three breadth (of 45 inch muslin) petticoats.
I know this one will have a sufficient hem (for a change). But the question is, how many tucks will it sport? What will be their pattern? No embroidery. At least that’s what I’m thinking right now…
Final Stretch
October 10th, 2011
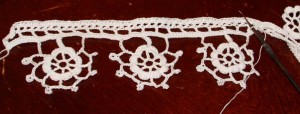
Actually, I’m now even closer to finishing my latest petticoat edging than when I took this picture…thanks to an evening at home watching movies with my favorite fellow.
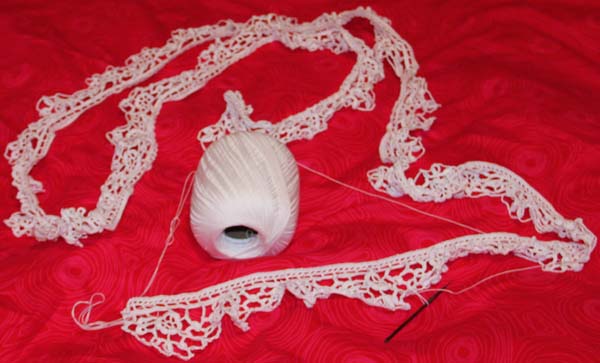
I’m working on the final row. It’s going fairly fast — I’m nearly halfway done after just a few hours of work. Good thing too, as I’m getting a little tired of crochet — at least this pattern. And my wrists ache, my fingers are stiff, and there is a nasty bruise on my right palm where the end of the hook rests. Genius is pain.
Next I’ll need a petticoat to sew this to. I think I have just enough muslin left. Tucks seem like the way to go again, since I still have yet to find any evidence of a mid-19th century petticoat sporting both crochet and embroidery.
It’s Getting to Be Guipure
September 25th, 2011
I got stranded somewhere this week for a few hours, and just happened to have my crochet bag with me. So I made better progress than expected on row 5. Now I’m on to row 6 — of 8 — and it’s really starting to look like a cohesive pattern. The last two rows are much less involved too, so it’s fair to say I am nearing the finish line on this latest edging. Of course that means I need to start thinking about the petticoat it will eventually adorn…
Row 5 Begun
September 21st, 2011
My latest petticoat trim continues to progress in an orderly fashion. This one isn’t nearly so quick to work up as the last, and by rights it should be taking even longer — I just realized that the pattern asks for size 16 thread, not size 10 like the first (crochet thread gets thinner as the numbers go higher).
Tonight, while watching reruns of Bonanza on DVD — come on, who doesn’t love Little Joe? — I finished the last four motifs and started on the first of three or four more rows that will join it all together.
If you will recall, this is the pattern from Peterson’s, 1855, that’s meant to imitate guipure — a type of embroidered thread and cut fabric lace also popular at the time, and somewhat interchangeable with crochet. I’m not sure how I feel about it, after reading the following in Miss Lambert’s 1848 treatise, My Crochet Sampler:
“The following six collars, though simple and unpretending, are in better taste and style than most productions of a similar kind, in crochet: they show themselves to be what they really are — a clever and ingenious method of producing an elegant and useful article of dress, without attempting to imitate, (which indeed would be but waste of time), lace, guipure, or any other manufacture. This description of work, if well executed, may rest on its own merits.”
Of course I plan to make all of the “following six collars” in the very near future. Though I think I will need to order some finer cotton and dig out my REALLY tiny hooks (or tambours as they were properly called in English, before the french term crochet, meaning hook, took over in the 1840s — I’ve also seen them referred to as crochet needles). I’ve been doing a lot of reading about the development of crochet in the first half of the 19th century, including other works by needlework greats Miss Lambert, Cornelia Mee, and Eléonore Riego de la Branchardière, to name a few. I’ve also found at least four new petticoat trims in crochet from the 1840s and 50s, including one worked the short way!
For now, back to my faux guipure.
Older Posts »
