Burn Her Bustle
September 21st, 2012
Remember when I savagely attacked my mourning bonnet? I’ve been at it again, this time with a bustle. I made it in a blind rush, with no pattern or research, just two days before debuting a rather loosely historical 1870s ballgown at a dinner party based on Edith Wharton’s Age of Innocence.

Realizing that I didn’t care if I ever saw the wretched thing again, I decided to chuck it. But not before rescuing the high-quality hoop steel (I splurged at Farthingales that year).
In case you were curious, here’s the completed dress in a variety of settings, namely India House, Delmonico’s Restaurant (by which time I’d lowered the gathering on the skirt to drape better over the bustle), and the garden of the Merchant’s House Museum. I’ve also worn it to McSorely’s Old Ale House, but I don’t care to share those pictures.
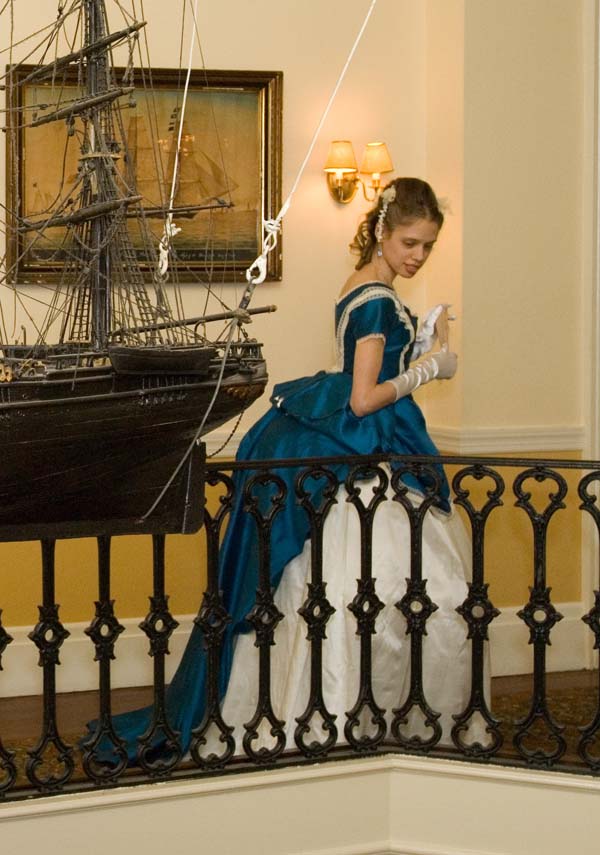
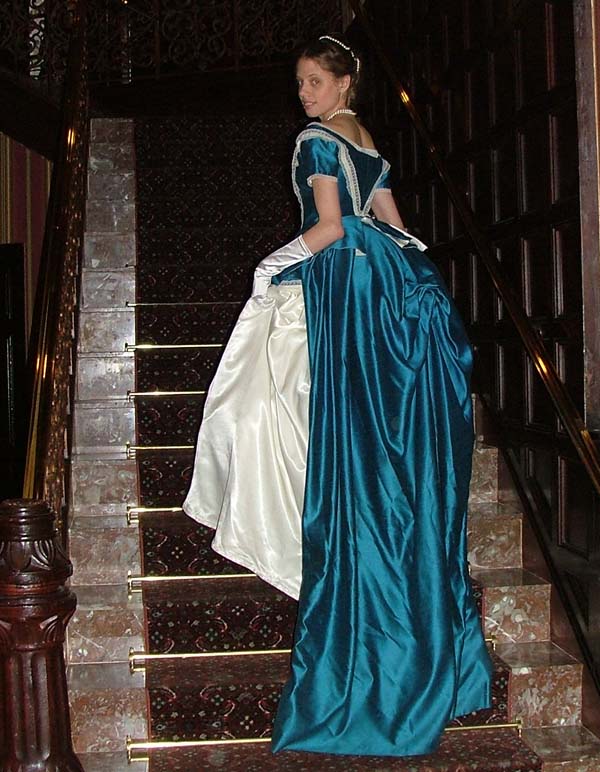
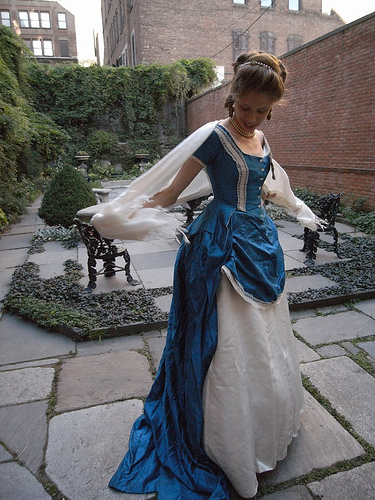
I wonder why it was so much less puffy here…
Jiffy Shift, 1960
August 24th, 2012
Tonight I began work on what should be a fairly quick project. The pattern belonged to my grandmother and is dated 1960. The shape is truly simple — nothing more than a front, two backs, and a neck facing. The sleeves are cut on and the waist is shaped by a belt, or not at all.
I’m using a rather awful fabric, discovered at the thrift store. There really isn’t anything else you could make with this fabric.
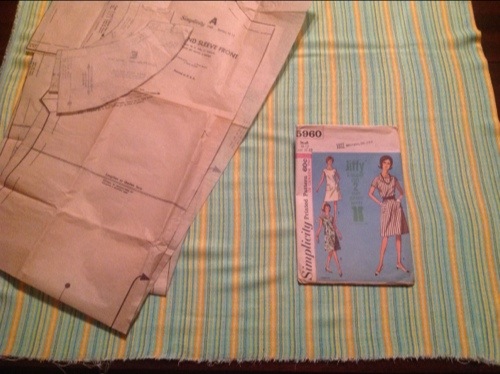
The pattern is single size, 10/12. My measurements are size 14 according to the envelope, but the pattern seems to fit okay as is. Though it’s hard to tell in tissue paper…I do usually end up taking things in when I size them based on measurements. Either I measure myself wrong, or maybe I just like tight clothes? Anyways, I plan to alter the pattern just ever so slightly, mostly to lower the bust dart, which I must do on every commercial pattern.
Back to cutting!
Kestos-esque: Version II
July 24th, 2012
Last night I finished sewing the straps onto my latest 1930s-style brassiere. It’s made from another reclaimed sheet, this one with a slightly looser, textured weave. I had just enough purple bias left to eke out binding and shoulder straps. And of course, it features the embroidered motifs I showed you last week.
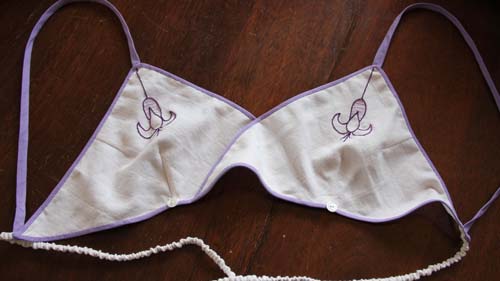
This iteration includes a few modifications from the initial version. I shifted the triangle shape ever so slightly to eliminate wrinkling under the arms. That area does lay much more flatly now, however the pattern shift also removed some of the garment’s width around the bottom, changing where the shoulder strap attaches in back. It still fits, but barely. So I’ve made a third pattern with some of the width, but not the wrinkles, added back in.
Other changes include bringing the bust points slightly closer together (another factor which reduced the overall width) and eliminating the button tabs, simply sewing the buttons onto the bottom of each cup.
Version III coming up…
Kestos-esque: Version I
July 16th, 2012
After a few nights of contemplative sewing, my first prototype of the Kestos-inspired brassiere is complete. But I’m going to make you read all about how I did it before showing you a picture.
I found a photograph and description of a 1930s Kestos-style brassiere in “Underwear Fashion in Detail,” by Eleri Lynn, published by the V&A. I’d love to show it to you, but it’s probably better if I just tempt you to buy the book instead. At least a portion of the royalties must go to support the museum, so you can look at it as a charitable purchase.

I will, however, go so far as to say that the text explained how the Kestos brassiere was originally conceived; it was inspired by a pair of folded handkerchiefs. So I decided to start with the same premise. I believe ladies’ hankies are usually 10 inches square (gents are 12). So I tore an 11 inch square of thick, buttery cotton (a reclaimed sheet) — 10 inches for the handkerchief, with an extra inch for seam allowances. Then I cut the square in half.
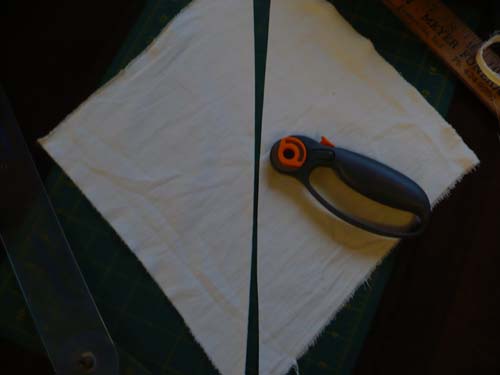
The long bottom of the triangle is the base of each cup of course. Although the resulting pieces were quite malleable, being cut on the bias, they still needed a little shaping. With a half inch dart at the bottom and a quarter inch at the arm, they took on a decidedly bra-like shape.
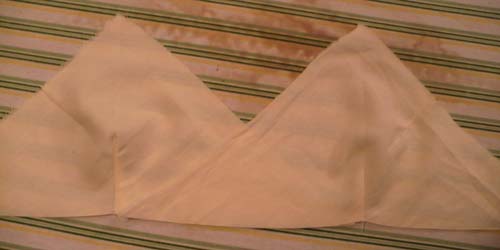
Next came the binding. I used the purple bias tape I’d cut for the petticoat that didn’t work. I’m working on incorporating more machine sewing into my process, now that I have three (count them, 1, 2, 3) sewing machines standing ever at the ready, but it’s a struggle. I did manage to sew the first side of the binding on by machine, clipping and turning neatly at the corners. But I couldn’t resist blindstitching the folded bias on the inside by hand.
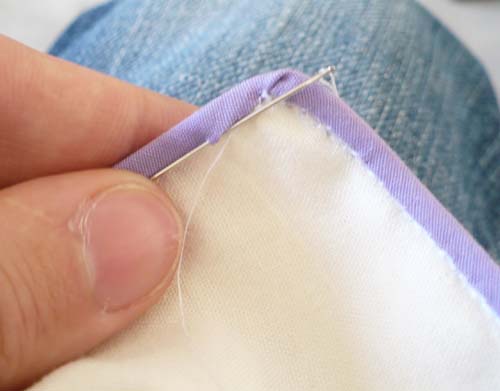
There’s an hour (or three) of my life that’s never coming back.
The straps were a bit tricky — I used bias (machine sewn into a tiny tube) for the shoulders and a tube of cream cotton ruched over elastic for the chest straps. Tiny shaped pieces with buttons were felled to the bottom of each cup to complete the fastening.
Voila!

And the back (please excuse my terrible posture, I had a camera on my left shoulder).
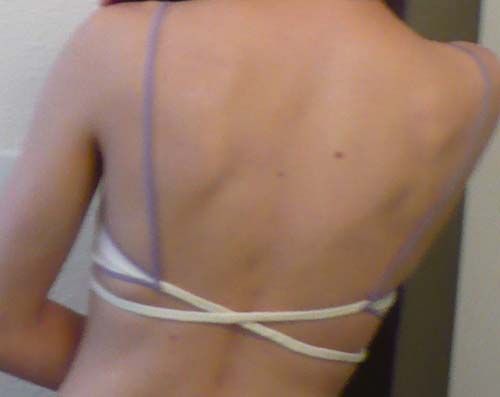
I’m actually quite pleased with the result. It’s definitely more comfortable than anything you can buy at the local lingerie boutique. And it doesn’t rely on double-knit or endless plush elastic or underwire or foam. Some minor fitting issues that need correcting in Version II include shortening the shoulder straps (or making them adjustable), lengthening the back straps just a bit, and pinching a little extra material out of the sides.
Oh, and Version II is going to be embroidered. Why? Just because I can.
P.S. I realize it may be a bit eccentric to post pictures of myself wearing underwear on the internet. But it is definitely better than posting pictures of myself not wearing underwear. And I feel that the informative context in which it is presented must remove any objections on the grounds of taste. Lastly, this covers a sight more than my bathing suit, and I wear that to the public beaches on a regular basis.
Back to the Drawing Board
July 11th, 2012
After a night of solid stitching, much of it by hand (slip-stitched faux french seams, triple-basted and back-stitched bust cups), I was finally ready for the pre-strap and closure fitting of my experimental bodiced petticoat. With the center front pinned neatly together, I stood in front of the mirror and my heart sank. By the time I’d piped and bound the bust cup seams, they were nearly as bulky as an underwire. And it was quite clear that the front closure needed boning, possibly the side seams as well. There was no way the final result would even be as comfortable as a modern brassiere. Which defeats the whole point.
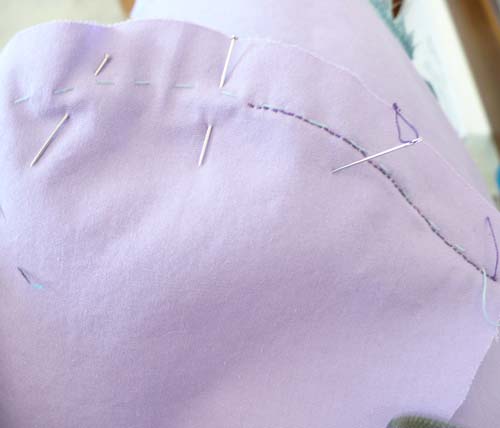
Back-stitching the bulky bust cup seam
So I went back to my books in search of another solution to the underwear problem. I’m aiming for a wardrobe of clothing based on styles popular from about 1900 to 1940. So it seemed logical to look for undergarments from those eras. Chemise with slash and gather bust shaping (I’ve seen one in an historic collection), bust bodice, bandeaux, and/or…
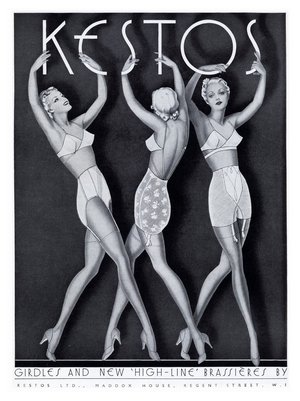
That’s right, a Kestos. Named for Aphrodite’s own support garment, the Kestos was the most popular brassiere of the 1930s. And it was originally designed with a pair of folded linen handkerchiefs connected by elastic and ribbons! What could be more comfortable? Or better suited to my free-form wardrobe?
I think I may also experiment with a few chemise configurations, given my obsession with the chemise form in general. It seems like a useful undergarment for many of the looser styles I have in mind. Petticoats will just have to be separate, which is perhaps more convenient for washing anyways.
Older Posts »