Empire Ensemble
May 31st, 2011
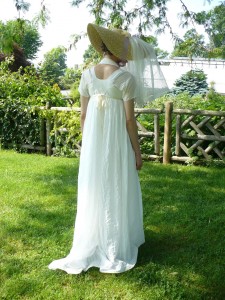
Just in time for our Neoclassical Memorial Day Picnic, I finished my Empire ensemble. It consisted of:
- a stomacher front dress (built onto what was originally intended to be a separate bodiced petticoat);
- a tiny lace shawl, strategically designed to preserve my modesty;
- and a gypsy bonnet, complete with veil (a handy safeguard in case my shawl slipped; at least I wouldn’t be recognized).
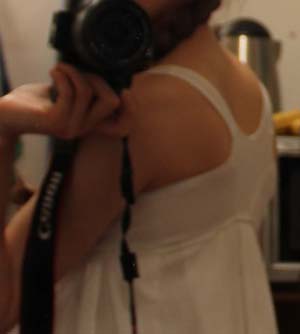
As you may be able to tell from the back, with it’s tiny, raised bodice panel and slight train, it’s a very early Regency style (copied mostly from Janet Arnold). But because I based the scandalous neckline on a French portrait, I am calling the dress Empire instead. As you may recall from earlier posts, I initially thought the dress in the painting must close in the back, so I proceeded accordingly. As I worked through the fittings, and just couldn’t make the back behave no matter how I tried, I began to look for examples of back-closing dresses from this period. And I failed to find a single one that matched.
Then, I looked again at the painting, and again. And what do you think? It turns out the painting was a stomacher front as well! So I re-cut the back, removed most of the front, and cut a new front bodice piece to add to the apron part of the skirt. Because of the last minute change in plans, there are some definite irregularities in the dress construction. Most are invisible from the outside, but you can tell when you open it up. Ah well. I’ll do better next time.
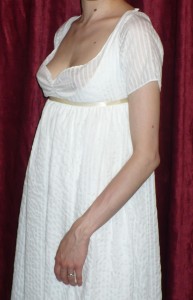
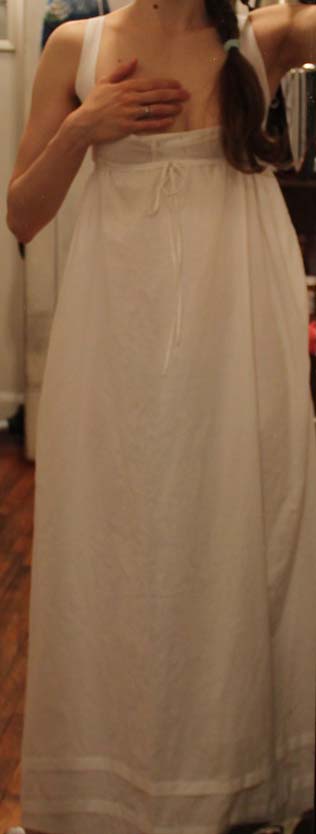
Somehow this photograph avoids being terribly indecent, perhaps because it was taken indoors. But I kept my shawl draped around my neck and hanging down the front while I was out and about. Can you see the similarity to my inspiration painting? While it’s not an exact copy, I believe I captured the essentials. It was particularly exciting to see how Janet Arnold’s pattern created the exact lines seen in the portrait. I live for those little correspondences, when two disparate sources suddenly combine and magnify!
Alas, I fear I am now hooked on Regency. New dresses are already being planned…
Closure
May 24th, 2011
Turns out I didn’t need all 5 buttons…though I am reserving the right to add another one in the middle if the back gapes!

The dress pattern I am working from in Janet Arnold’s book is a stomacher front, so it closes in the front. But there’s another dress on the same page that seems to be more similar in some aspects of construction to my inspiration painting. The second dress is back closing, like the painting dress, and this is how its buttons are arranged.
Bust My Buttons
May 23rd, 2011
Tonight I finished putting together the bodice of my Empire dress fairly early. I didn’t quite have the energy to cut out the skirt and waistband though, so I decided to cover a set of five buttons for the center back closure.
From what I can discover online, there were three main types of buttons used on clothing at the turn of the 18th century: metal, fabric-covered, and thread (metal rings wrapped in thread to create intricate designs). Somehow metal seems incongruous on a delicate white frock, and I’ve gotten the impression that the thread buttons (of which Dorset seems to be a classification) are mostly used on undergarments, or things that need to be washed vigorously. So I opted for fabric-covered.
The question then arose as to what I should use for my button forms, and how to attach the covers. Since my time is limited, I decided to use modern buttons from my button box and cover them by gathering tiny circles of fabric around them and sewing it closed. I’ve made a mental note to dig deeper into this topic at a later date.

I made five buttons, which seems like more than sufficient to close the center back of my emerging dress. They’re rather thickish though, so I think I shall make thread loops instead of buttonholes. Even with three layers in the buttonstand, my dress fabric is far too fragile to withstand much strain.
Petticoat Acompli
May 21st, 2011
I’m pleased to report that my Empire petticoat is complete! It’s entirely hand-sewn, and despite a skirt that is not quite perfectly balanced, I’m very happy with it!
As revealed in an earlier post, I used a pattern from Janet Arnold’s Patterns of Fashion I: the 1798-1805 morning dress. I simply left off the apron front that would have turned this into a complete dress. The bodice is linen (Arnold’s original had a linen lining to the bodice), but I decided to go with cotton muslin for the skirt — linen would have been far too stiff and heavy.
Here’s the apron part of the skirt — nearly flat at the front, but lightly gathered by the time it reaches the side. It’s set into a very narrow linen waistband that continues to form long ties. The original dress had a front bodice piece attached to this part of the skirt, that buttons on to the rest of the bodice.
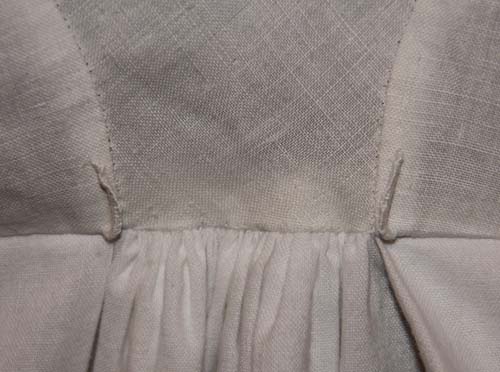
The sides and back of the skirt are set into the bodice with a series of pleats at the sides and a small section of gathers at the very back. Also at the back, you’ll see a pair of thread loops that hold the ties from the apron front as they wrap around to tie in front.
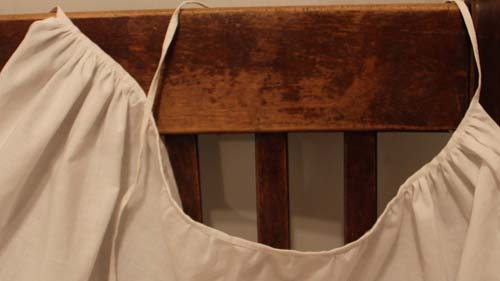
I had to resist the urge to over-finish the inside. After running the seams with a modified back-stitch (tiny running stitches with an occasional back-stitch for strength), I trimmed the allowances and overcast them. The neck, arms, and front bodice were simply turned and hemmed.
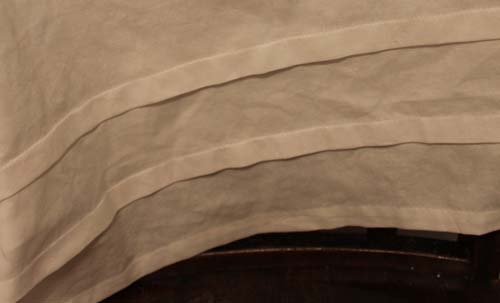
The skirt is two lengths of 45 inch wide cotton muslin, sewed into a tube at the selvedges (19th-century “sewing” requires no seam allowance when you’re joining selvedges). Since the original pattern called for three breadths of narrower fabric in the skirt, it used the side seams for the apron front opening. My side seams were too far towards the back. Instead, I cut two long slits into the front portion of the skirt and hemmed them with a tiny pleat at the base of the slit. I also hemmed the bottom, and put in two 3/4 inch tucks.
At the top of the skirt, I scooped out an inch from the center front, rising gradually as it came around to the sides. In retrospect, I wish I’d taken more than 1 inch — the bodice rises in the back, pulling the skirt up more than I realized. If I’d followed Arnold’s pattern exactly, this would not have been an issue since the back of her dress has a considerable train that would disguise any shortness.
See how it angles up in the back? You can also see how far back the armscye is set. This is one of the distinguishing markers of an Empire gown, though I rather wonder if mine isn’t a bit extreme.
In the end, I decided not to lace up the front the bodice. In Arnold’s original pattern, she indicates that the bodice lining is simply pinned closed. During the fittings, I was convinced that pins would never hold (the lining provides all the bosom support for this outfit) and that I’d be in constant danger of being stabbed. When I tried it on this morning though, pinned in place, I realized that it really works! So I’m leaving it with pins.
And yes, though cleverly disguised in order to keep this picture viewable, the bodice does not come up high enough to actually cover the bosom. As seen in this picture of the original painting that I’m using for inspiration, the lining is meant to run underneath, supporting, but not concealing.
Now, on to the dress!
Stitching Away
May 20th, 2011
I haven’t had much sewing time in the past few evenings (thanks in part to a humiliating mishap on Tuesday night), but I’m still making steady progress on the petticoat for my Empire gown. Keeping me company, I’ve got everything a girl could ask for: Yesterday USA internet radio, a handsome husband in the easy chair, and my wee sewing bird.


