Spinning My Wheels
January 9th, 2013
It seems I am well equipped for hand-spinning. Last weekend, I finally unpacked the boxes that held my wheels and other tools.
This is the wheel my grandfather rebuilt for me years ago when I first became interested in spinning. Someone in my grandmother’s guild was selling it, in need of a few repairs. I believe it was made in New Zealand. Despite having only one pedal (slightly trickier to use than double pedal wheels), it spins like a dream when it’s been properly adjusted. I need to put another leather thong on the pedal before I can use it.
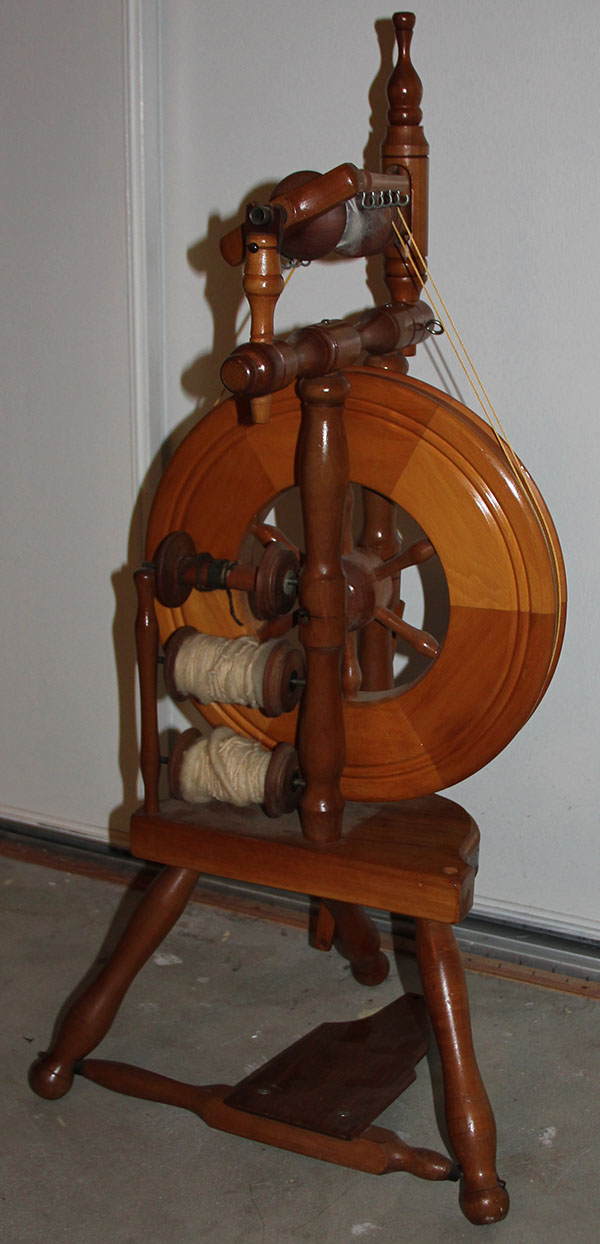
I also have one of my grandmother’s wheels.

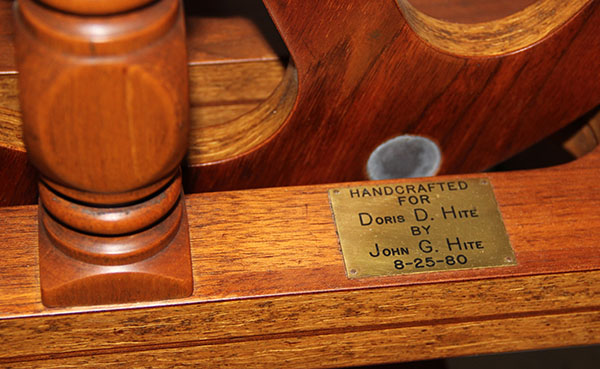
Yeah, I probably don’t need two spinning wheels. But this one was custom built for her by my grandfather. It seemed like it should stay in the family. And the action is very different, thanks in part to the double pedals and compact shape. I need to repair the string that wraps around the wheel and makes it go.
Lest you think that a spinning wheel can stand alone, here’s a sampling of my other spinning tools. The two cross-like items on the left are called niddy-noddies. You wrap freshly spun yarn around them to set its twist and make a skein. One is mine, the other was Gram’s. There’s a selection of drop spindles — used to spin yarn without a wheel. My mother (whose interest in needlework is relatively limited, but intensely creative) says they are most effective when dropped off the balcony of a three story building. I’ve also got two sets of hand carders, mine and Gram’s. And Gram’s tiny carder, along with a leather shield to protect your lap from flying carders.

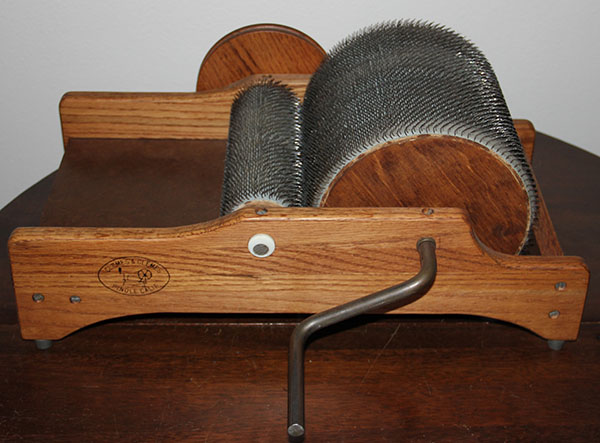
Last but not least, a drum carder. Serious spinners go through roving pretty quickly. Hand carding is slow and potentially painful (cramps and cuts). So my grandmother invested in a mechanical carding machine. Back in the 1980s, when she was learning to spin, there weren’t any internet sites selling pre-carded fibres…
I’ve got bags of hand-spun yarn in every color and material imaginable, all from Gram’s talented hands (waiting to be knitted up into family Christmas presents for many years to come). It’s a high standard to live up to, especially when I look at the pitifully lumpy yarn on the extra bobbins of my wheel. I think I’ll be spending a lot of time on this site, The Joy of Handspinning. Of course, I’ll need to dig out the box of fleece and fibres first…
A Little Tatty
December 5th, 2012
No pictures yet of my recent love affair with the armistice blouse, but here’s a sneak peek in the form of tatted edging.
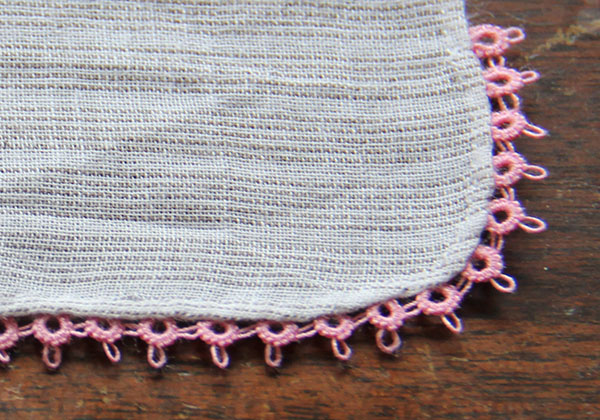
This is the collar that will soon be attached to my latest blouse. You can’t see it terribly well in the picture, but the fabric is a nearly sheer white with pale grey pin stripes. I used pink cotton for handkerchief hemming and fagotting, so naturally had to whip up a few lengths of pink tatted edging to match. It’s an embarrassingly simple pattern (I have yet to quite master the whole two-shuttle thing), but at least it works up relatively quickly.
And it’s such fun taking my tatting around with me. Everyone is always curious about what I’m doing.
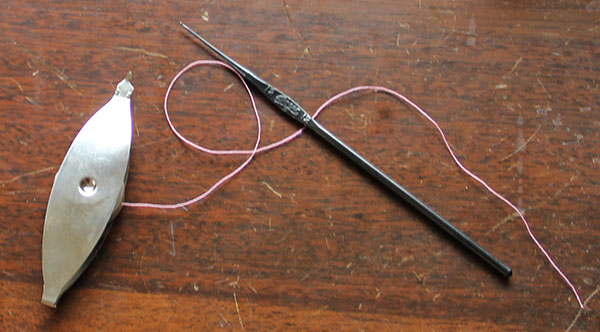
According to some histories I’ve read, tatting was developed centuries ago by nuns. Is it just me, or was all needlework developed by nuns? They say it caught on in the European courts when the ladies in waiting (always eager for something tasteful to pass the time) discovered how well tatting showed off their taper fingers* as they tied all those teeny knots. Elaborate and richly decorated shuttles of precious metal or ivory were de rigueur up through the Victorian era. I purchased a reproduction sterling silver filigree shuttle myself a few years ago, but was dismayed to find it stained my thread with tarnish. Perhaps a bath in lemon juice…
But really, it’s easier to stick to the mid-20th century metal ones, with their handy little bobbins that pop in and out. They even have a hook on the end for picking up the picots — though I find it works much better with a crochet hook. My absolute favorite shuttle is red plastic, without a separate bobbin (they can sometimes unwind at inconvenient moments) but I can’t seem to put my finger on its present location.
*Taper fingers is a ridiculously overused, semi-erotic 19th-century phrase — sort of the “heaving bosoms” or “throbbing member” of a more decorous time. For example, from Tom Cringle’s Log, circa 1832: “Then again—as I praised his lovely taper fingers—they were more like bunches of frosted carrots, dipped in a tar-bucket, with the tails snapt short off…”
Drowning in Thread
September 20th, 2012
I think I mentioned recently that I’ve been cleaning and sorting out my studio; tackling the gargantuan task of integrating my own stash with tools and materials from a number of other sources, including my mother’s attic (stash overflow from the past decade or so), my grandmother’s sewing/weaving/spinning/knitting room, and from a number of dear friends who have been kind enough to bestow a variety of irresistible goodies upon me.
Here, for example, is a wooden expanding (in more ways than one) box of embroidery threads.
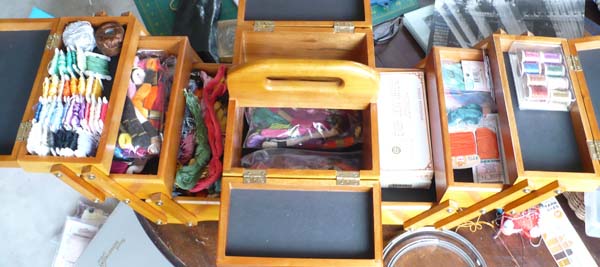
The darling box was a gift from a lovely friend and neighbor, and it came filled with quite a few skeins of stranded cotton floss and perle. To this I added my own carded floss, skeined ombre floss, and silk thread packets. There’s also a little box of antique metallic threads (another gift) and a nearly full box of white floss for broderie anglaise. Then I put in my grandmother’s embroidery thread, both cotton and silk. And a batch from yet another friend. You don’t see them in this picture, but I’ve since added a handful of silk needlepoint thread skeins. And then there’s my whole supply of coton a broder that has yet to turn up…
Condensed Collar
August 23rd, 2012
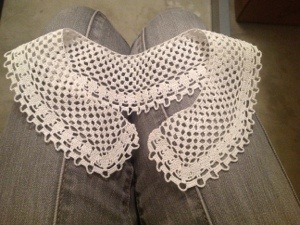
Last month, a young friend admired my crocheted lace collars, so I made one in her size.
Here it is, all pressed and ready to go. Only she did ask for a rainbow colored collar…which I haven’t quite figured out how to pull off. Any ideas?
Brassiere Embroidery
July 18th, 2012
I seem to have a one-track mind lately. When I’m not poring over historical underwear, I’m sewing modern reproductions of it. This is for another Kestos-esque brassiere.
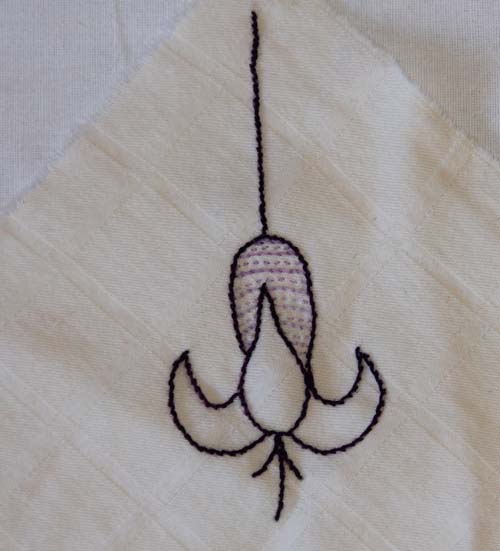
It’s positioned so that the stem will run right into the shoulder strap, and the stamens end just above the bust point. Best of all, since the fabric is cut on the bias, the flower stretches and changes shape with every breath. Of course, it’s unlikely that anyone will see it, since it is, after all, underwear.
I think the stamens need little pale purple dots on each end. I considered beads, but that would be inconvenient for washing. And might look odd under a closely fitted top.
« Newer Posts — Older Posts »
