Spinning My Wheels
January 9th, 2013
It seems I am well equipped for hand-spinning. Last weekend, I finally unpacked the boxes that held my wheels and other tools.
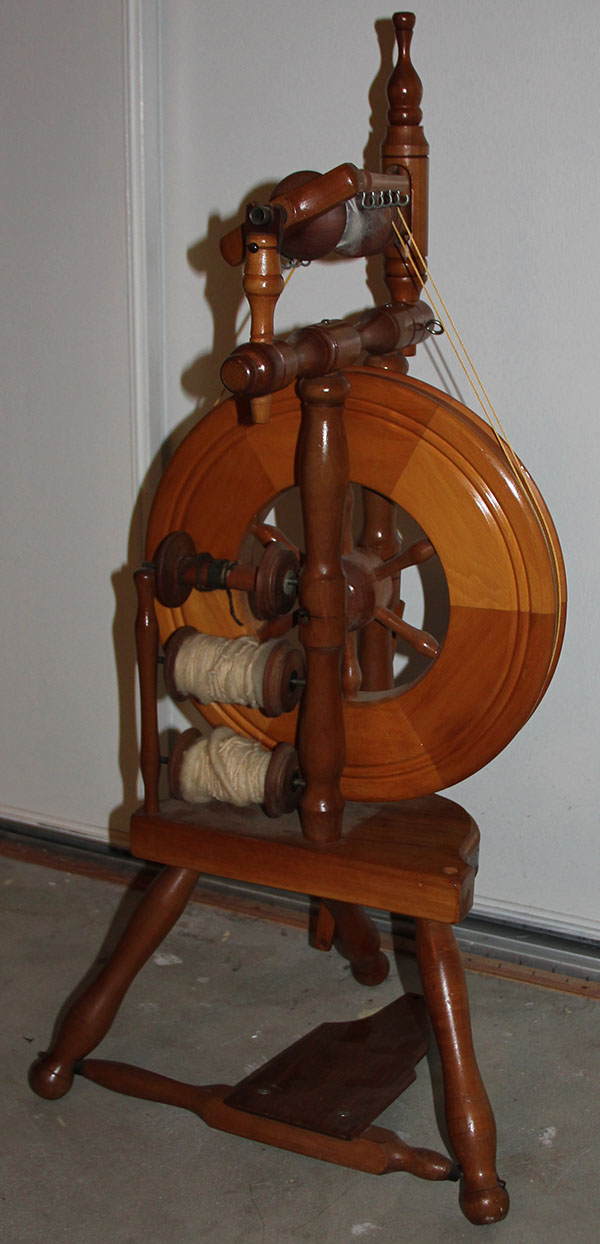
This is the wheel my grandfather rebuilt for me years ago when I first became interested in spinning. Someone in my grandmother’s guild was selling it, in need of a few repairs. I believe it was made in New Zealand. Despite having only one pedal (slightly trickier to use than double pedal wheels), it spins like a dream when it’s been properly adjusted. I need to put another leather thong on the pedal before I can use it.
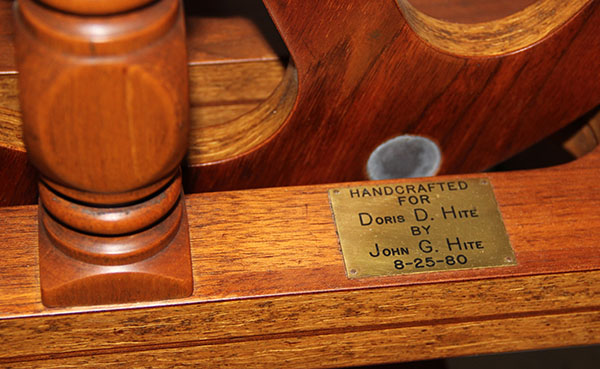
I also have one of my grandmother’s wheels.

Yeah, I probably don’t need two spinning wheels. But this one was custom built for her by my grandfather. It seemed like it should stay in the family. And the action is very different, thanks in part to the double pedals and compact shape. I need to repair the string that wraps around the wheel and makes it go.
Lest you think that a spinning wheel can stand alone, here’s a sampling of my other spinning tools. The two cross-like items on the left are called niddy-noddies. You wrap freshly spun yarn around them to set its twist and make a skein. One is mine, the other was Gram’s. There’s a selection of drop spindles — used to spin yarn without a wheel. My mother (whose interest in needlework is relatively limited, but intensely creative) says they are most effective when dropped off the balcony of a three story building. I’ve also got two sets of hand carders, mine and Gram’s. And Gram’s tiny carder, along with a leather shield to protect your lap from flying carders.

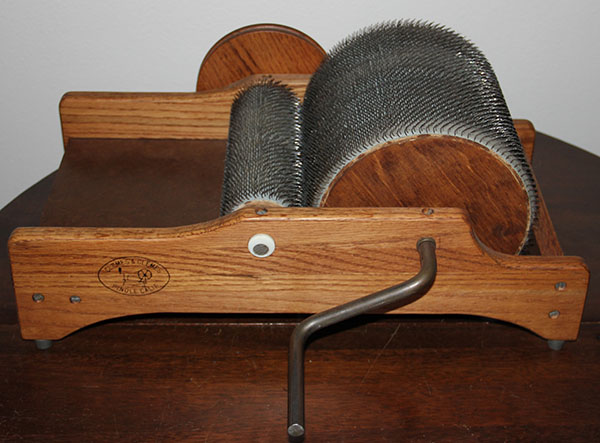
Last but not least, a drum carder. Serious spinners go through roving pretty quickly. Hand carding is slow and potentially painful (cramps and cuts). So my grandmother invested in a mechanical carding machine. Back in the 1980s, when she was learning to spin, there weren’t any internet sites selling pre-carded fibres…
I’ve got bags of hand-spun yarn in every color and material imaginable, all from Gram’s talented hands (waiting to be knitted up into family Christmas presents for many years to come). It’s a high standard to live up to, especially when I look at the pitifully lumpy yarn on the extra bobbins of my wheel. I think I’ll be spending a lot of time on this site, The Joy of Handspinning. Of course, I’ll need to dig out the box of fleece and fibres first…
Tip of the Iceberg
January 8th, 2013
I’m cleaning and organizing my sewing room/studio. And boy is it a gargantuan task. There are things here that have been hoarded for generations. Literally. I’m letting a lot of things move along (think purple polyester knitted fabric from the 1970s and piles of neon eyelash yarn). There are also some amazing treasures that I’d forgotten I had.

This autograph book belonged to my great-grandmother, Carrie Daugherty, neé Yonker. It’s fragile pages are filled with ornately penned poems and remembrances, some dated as early as 1879. I can recall sitting in my own grandmother’s sewing room, watching her turn the pages and listening to family stories.
The same box also contained a wealth of photographs from the first half of the 20th century, lots of old letters, and a bible that belonged to my great-grandmother’s great-aunt (born in 1812), bearing an inscription dated 1832.
Of course, the bulk of what I’m sorting through is fabric, yarn, and various needlework tools. Oh, and a fair slice of my grandmother’s wardrobe from 1930s through 1970s. But that’s another post entirely.
Ironing It Out
January 4th, 2013
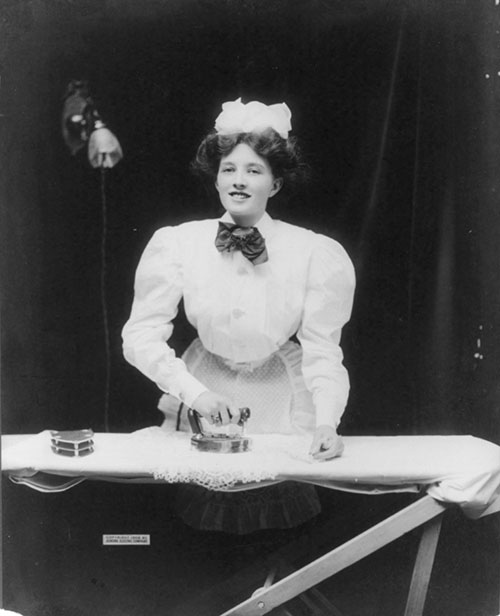
I spent the bulk of last night ironing what seemed an endless pile of recently washed cotton yardage. I rubbed and steamed and pressed until my arm was ready to fall off. And unlike this smiling model, I was neither perfectly coiffed nor smiling by the time I finished.
On the other hand, I’ve only had my own washing machine for a year now (after a decade of NYC apartment-imposed laudromatting), and I still get a little giddy every time I use it, even if it means more ironing. Plus it’s fun to dream about all the things you’re going to sew while prepping the fabric. At least that’s what I kept telling myself…
And yeah, me and my lightweight Rowenta know it could have been worse:
“Ironing.—This has, through all time, been a wearisome, worrying process, at times, in the experience of all. The day has, I hope, nearly gone by, when “good fires” will be kindled and kept up, (perhaps through a whole day, while the thermometer ranges at 90,) just that a family ironing may be accomplished. In cities, where we have gas, an elastic tube is introduced into a flat iron made for the purpose ; and at a cost of about four cents an hour, we have a perpetually heated flat iron. For those who have not gas, an equally pleasant spirit iron, with a wick lit by alcohol, performs the labour. They are for sale at Wilcox’s, 273 Chestnut st. The cost is about $6.”
What I Know, Or, Hints on the Daily Duties of a Housekeeper, Elizabeth Nicholson, 1856, Philadelphia
Don’t tell my current iron (which has been my staunch ally lo these many years), but I’m actually about to retire it to the laundry room. A dear friend and lifelong seamstress recently astonished me by passing along her professional steam iron, complete with external water tank. What a generous gift! I need to install a ceiling hook before I can start using it though.
Third Armistice Blouse
January 3rd, 2013
Eek! What a terrible photograph. But I’m so tired of this blouse, I don’t care enough to take a better one.

Like my second armistice blouse, this one sticks more closely to the early 20th-century form. It’s sheer grey striped cotton, with tatted purple ombre trim, and purple fagotting. I added a set of tiny tucks over each shoulder, which seems to help with the bagging around the underarms. I also fixed the collar issues suffered by the preceding blouse — mostly. I think I will use a piece of bias self-fabric to bind the curved part of the collar seam so I can clip it instead of madly stretching the allowance to fold and bind itself.
The fabric slipped as I was cutting it out, so I wasn’t able to incorporate the handkerchief hem that I used on the second blouse (you need to do that kind of work along a pulled thread). I think that extra line of embroidery added a lot to the feeling of delicacy, and I plan to be very, very careful cutting out the next edition. Without the handkerchief hem, the center panel also ended up a little too wide. So I whipped up a triple line of tatting and used it to pull in the neckline a bit. I really like the effect it adds, but am not sure I want to add any more work to what is already an incredible time consuming design…
Up next — the fourth (and possibly perfect) armistice blouse. Keep your fingers crossed.
HSF #0: Starting Simple
January 2nd, 2013
New year, new petticoat. Yep, I’m still me.
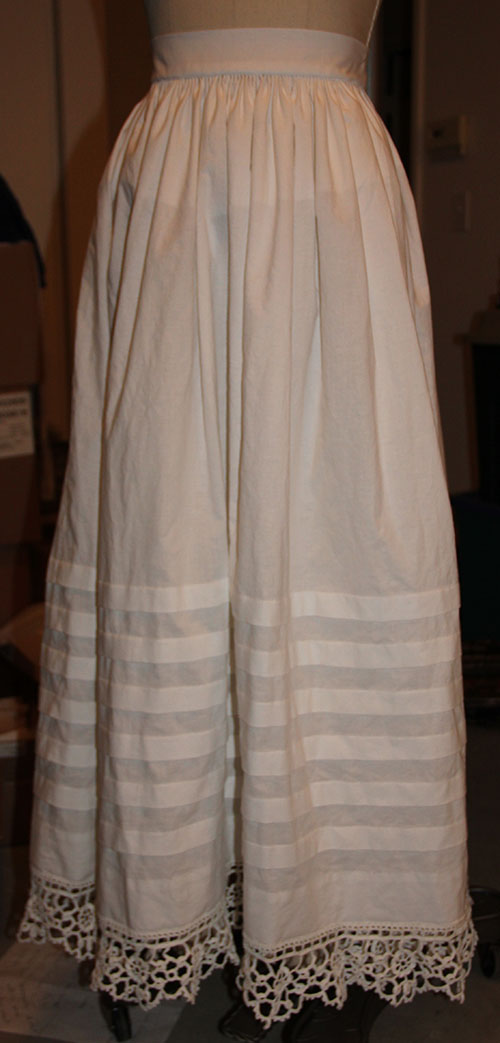
Amid the holiday rush, I managed to find a few hours each day to “zen out” on handsewing. The result, a long overdue petticoat for a swath of 1850s-era “guipure” crochet edging I finished more than a year ago. Why now, you ask? What exactly motivated me to finally get this done?
It was the Historical Sew Fortnightly, organized by The Dreamstress, who is one of my very favorite bloggers even though I’ve never met her (I always feel a bit uneasy reading the blogs of people I don’t actually know — sort of like I am stalking them).
Anyways, the idea is that participants are challenged to sew an historical (pre-1938) garment every two weeks for the next year — 26 in all. Each fortnight has a theme around which to organize your project. And best of all, there’s a bustling Facebook group to share research, inspiration, and lots of delicious pictures of the completed projects! This petticoat is my contribution for challenge #0, the pre-challenge. It’s title was “Starting Simple.” Make something fairly easy, and/or something that you’ve made before.
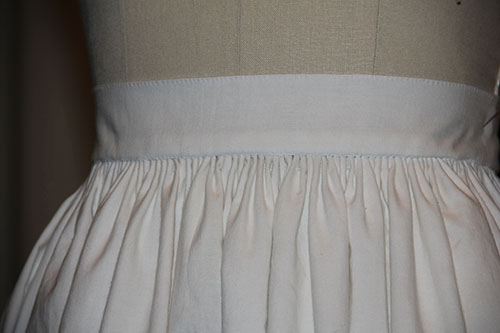
It’s a basic mid-19th century style top-layer petticoat. I used three breadths of 45 inch cotton, sewn up the selvedges and cartridge pleated to a buttoned waistband. Based on this gorgeous example from The Metropolitan Museum, I decided to include 6 tucks above the edging.
As is obvious from the picture of my deflated petticoat at the top of this post, I still need to put my cage crinoline together. I blush to admit I was in such a hurry to finish this, I committed the curatorial sin of using an extant cage crinoline (circa 1860-1865) from my personal collection to balance the petticoat. But I did resist the urge to get it out again for the photograph. I was also too lazy to put on my corset to figure out where to sew the buttons…
Just the facts, Ma’am:
The Challenge: #0 Starting Simple
Fabric: Cotton muslin
Pattern: Based on period directions and extant garments
Year: 1850-56
Notions: 2 mother-of-pearl buttons (I need to learn to make thread buttons!)
How historically accurate is it?About 90%. It’s impossible to get completely accurate materials — for example, the quality and size of the cotton are a little off, and I have a feeling the thread I used for the crocheted edging is the wrong size (it was the right number, but seems a little on the large side). Otherwise, it’s completely hand-sewn with period plain-sewing stitches.
Hours to complete: 20-30. Thanks to those six tucks, I figure I put upwards of 1,200 inches of sewing into this petticoat. Much of it running at 18-stitches-to-the-inch…
First worn: Not for a while yet — I need to finish the cage and/or crinoline, not to mention a whole bunch of other pieces to complete my 1850s wardrobe. This petticoat, along with others, will eventually be part of a mixed-media art exhibit as well.
Total cost: Counting fabric and crochet thread, about $15.


